Cleaning HVAC Coils: A Step-by-Step Guide

I  f you’re reading this article, chances are you’re either an HVAC contractor or a homeowner looking to learn more about cleaning HVAC coils. Regardless of which category you fall into, you’ve come to the right place. In this article, we’ll discuss everything you need to know about cleaning HVAC coils, from the importance of regular cleaning to step-by-step instructions for cleaning coils.

Why is cleaning HVAC coils important?

HVAC coils play a crucial role in the cooling and heating process. They act as heat exchangers that transfer heat between the refrigerant and the air. Over time, however, dirt, debris, and other contaminants can accumulate on the surface of the coils. This puts a strain on the HVAC equipment, reduces its efficiency, and increases energy consumption. Dirty coils can also lead to poor indoor air quality, as they provide a breeding ground for mold, bacteria, and other allergens.

Regular cleaning of HVAC coils, therefore, is essential to maintain the performance, efficiency, and lifespan of the equipment. It can help reduce energy costs, improve indoor air quality, and prevent breakdowns and costly repairs.

How often should you clean HVAC coils?

The frequency with which you clean your HVAC coils depends on a number of factors, such as the age and condition of the equipment, the environment in which it operates, and the usage patterns. As a general rule of thumb, however, HVAC coils should be cleaned at least once a year. In some cases, such as in high-traffic commercial buildings or homes with pets, more frequent cleaning may be necessary.

Step-by-Step Guide to Cleaning HVAC Coils

Cleaning HVAC coils may seem daunting, but it’s a relatively simple process that can be done with the right tools and techniques. Here’s a step-by-step guide to cleaning HVAC coils:

    Step 1: Turn off the power: Before you begin cleaning your HVAC coils, it’s important to turn off the power to the equipment. This will prevent any accidents or damage to the equipment.

    Step 2: Remove the access panels: The next step is to remove the access panels from the HVAC unit to expose the coils. Depending on the type of unit, this may require a screwdriver or other tools.

    Step 3: Inspect the coils: Once the coils are exposed, take a close look at them to assess the degree of dirt and debris accumulation. If the coils are heavily soiled, you may need to use a coil cleaner to get rid of the dirt effectively.

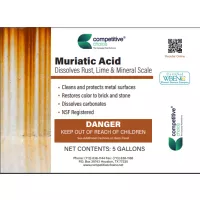
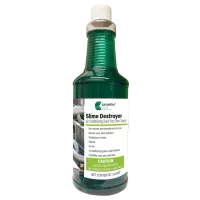
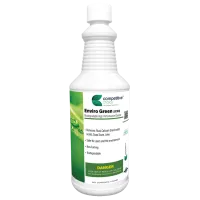
    Step 4: Use a coil cleaner: There are two types of coil cleaners: alkaline and acidic. Alkaline cleaners are best for removing grease and oil-based dirt, while acidic cleaners are ideal for mineral-based dirt. Read the manufacturer’s instructions carefully before using the cleaner. Spray the cleaner evenly over the coils, making sure to cover all surfaces. Allow the cleaner to sit for the recommended amount of time, typically 5-10 minutes.

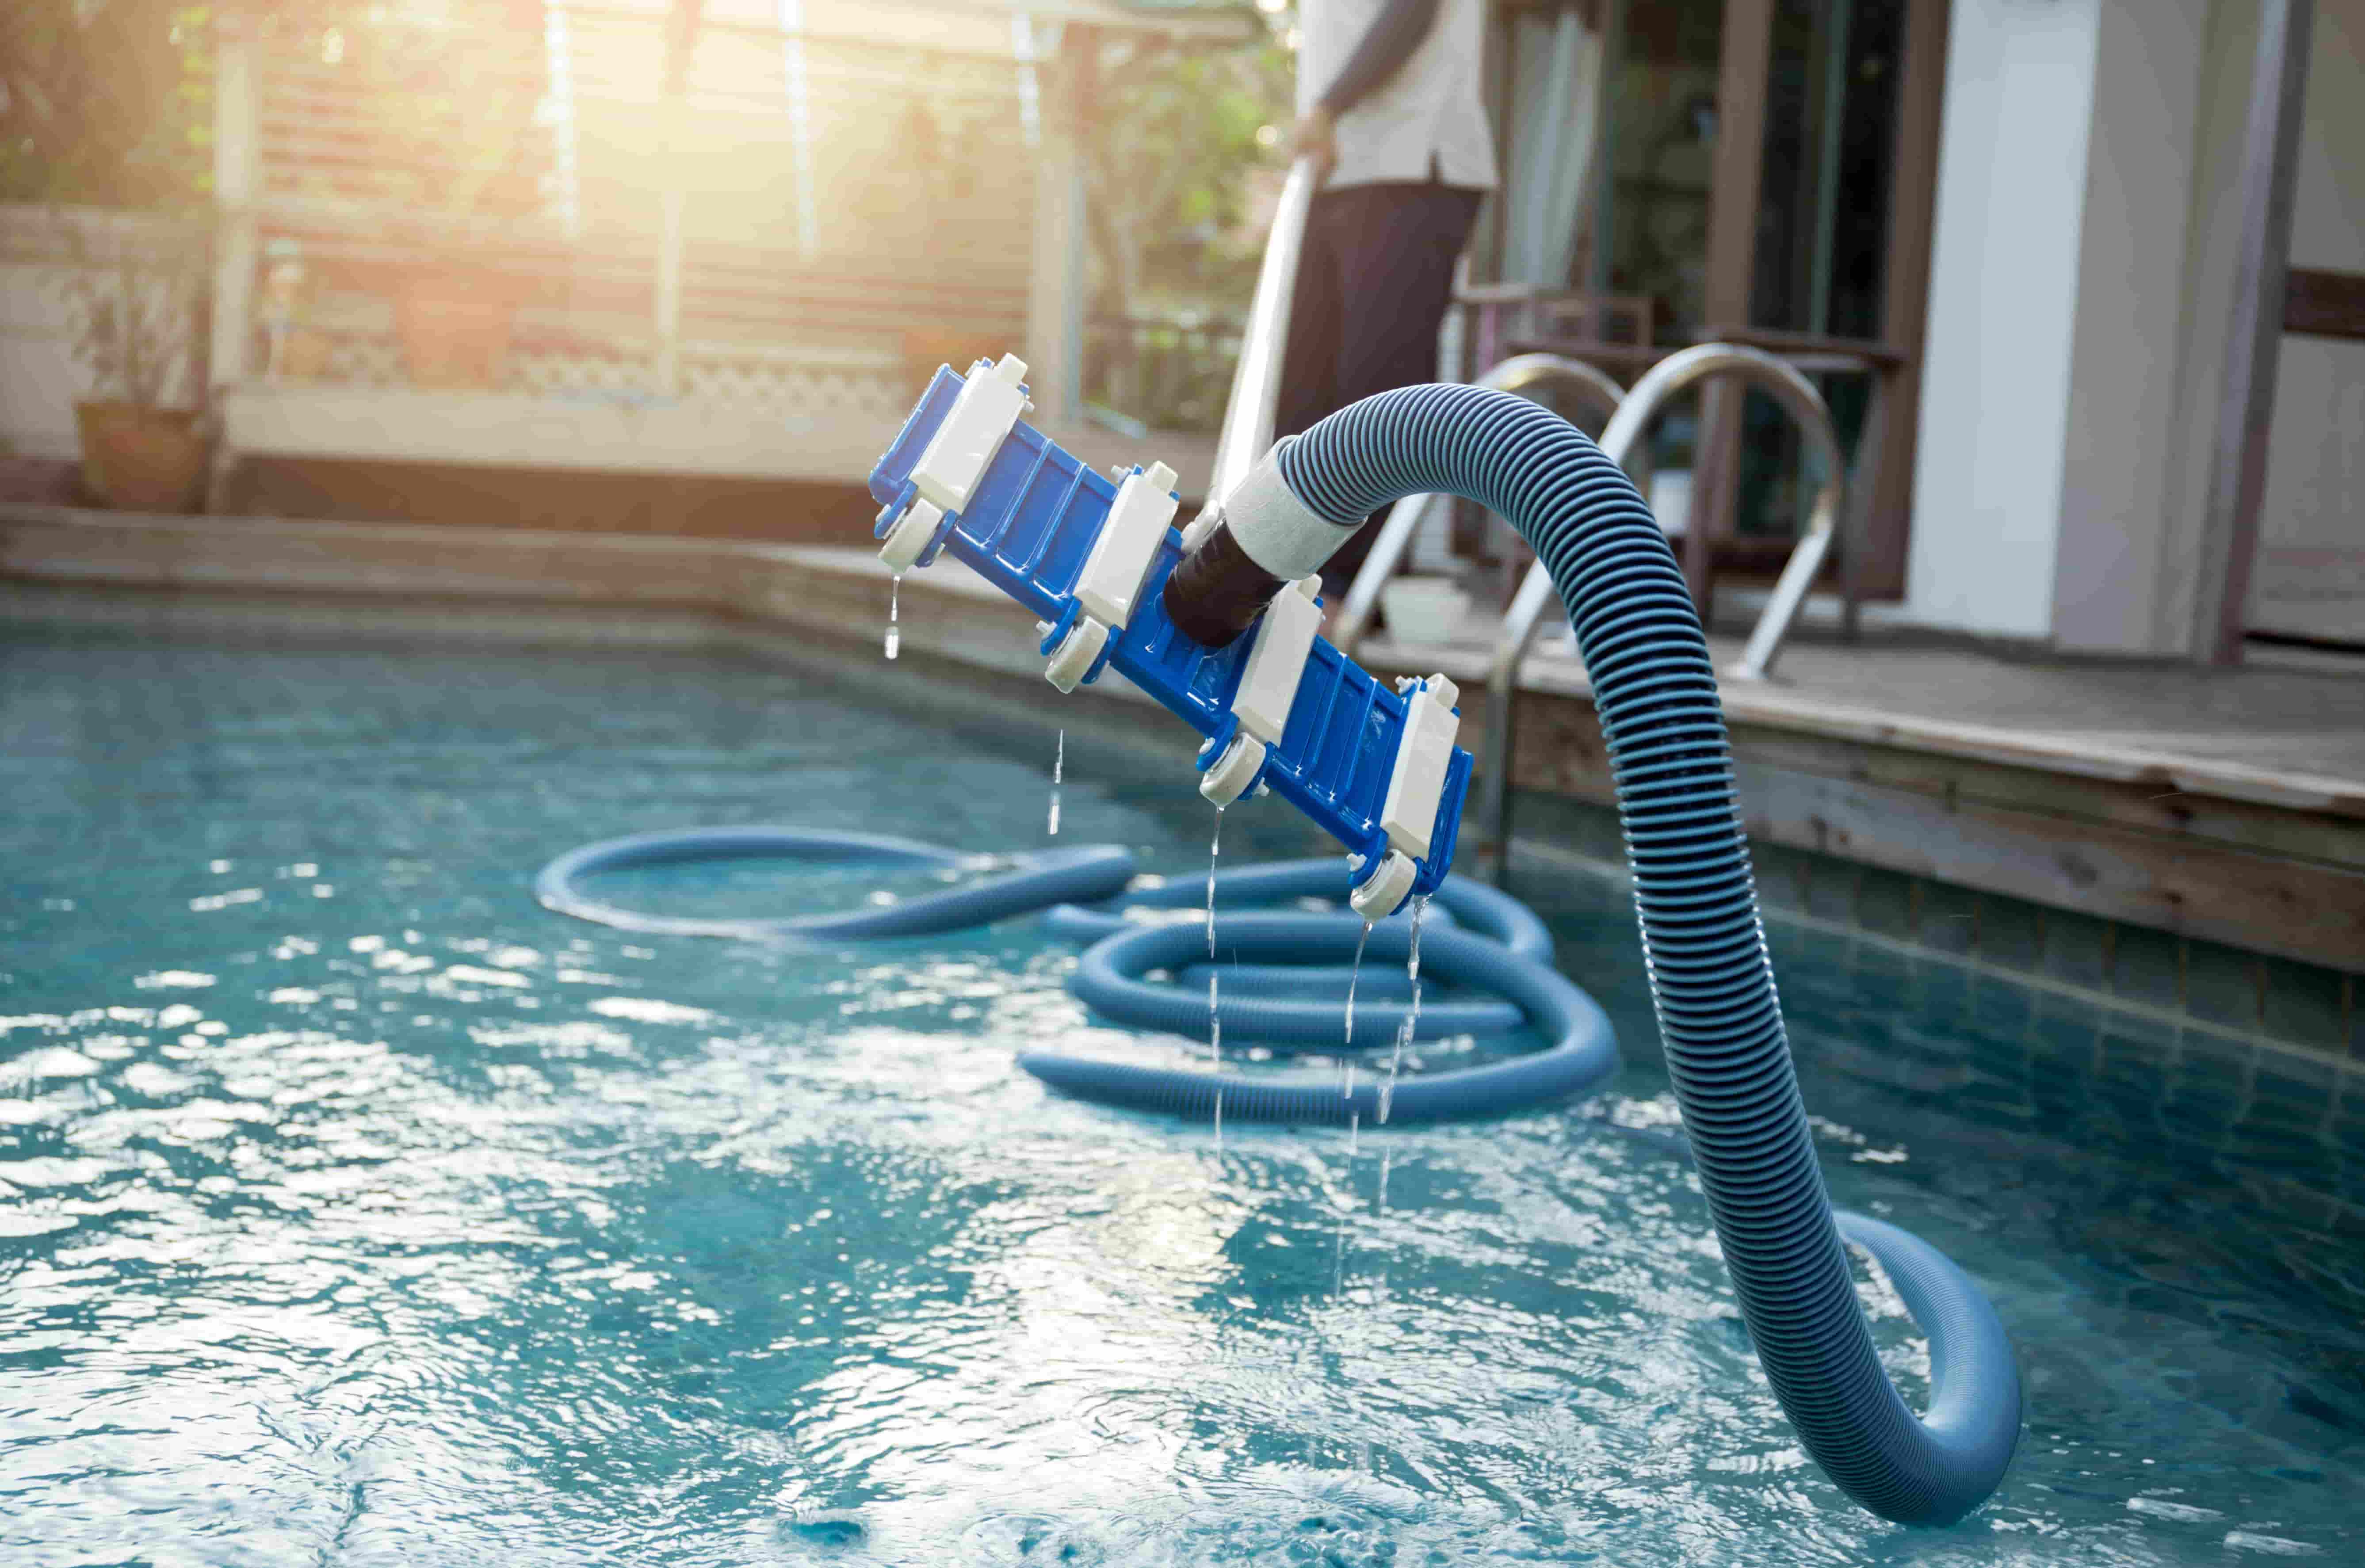
    Step 5: Rinse the coils: After the cleaner has had time to work, rinse the coils thoroughly with water. You can use a hose, a pressure washer or a coil cleaning system to do this. Make sure to rinse off all traces of the cleaner and dirt.

    Step 6: Check the condensate drain: While you’re at it, it’s a good idea to check the condensate drain for any blockages. A clogged condensate drain can cause water damage and lead to mold growth.

    Step 7: Reassemble the unit: Finally, reassemble the unit by putting back the access panels and turning on the power. You should notice an improvement in the performance of your HVAC system after cleaning the coils.

Cleaning HVAC coils is a vital maintenance task that should not be overlooked. By following the steps outlined above, you can keep your HVAC equipment running efficiently, reduce energy costs, and improve indoor air quality. Whether you’re a contractor or a homeowner, regular coil cleaning should become part of your routine maintenance schedule. Remember, prevention is always better than replacement!